Integrations
Integrations
Connect Cartoply to the tools you already use — calendars, payment providers, Jobber, and Zapier — all from one place.
Everything is configured on the Integrations page in the dashboard sidebar. Calendars and Zapier are available to every user; payment providers and Jobber appear for account owners and organization admins.
Google Calendar
When Google Calendar is connected, every confirmed booking automatically creates an event on your Google Calendar. Cancellations remove the event and reschedules move it.
To connect:
- Go to Integrations in the dashboard sidebar.
- In the Connected calendars section, click Connect next to Google Calendar.
- Sign in with your Google account and grant Cartoply calendar access.
- You'll be redirected back to the Integrations page with a confirmation.
To disconnect, click Disconnect next to the connected account. Future bookings will no longer sync, but existing calendar events are not affected.
Choosing which calendars to check for availability
Google accounts often have multiple calendars — a primary calendar, shared team calendars, or personal side calendars. By default, Cartoply checks only your primary calendar when determining your free/busy times.
After connecting Google Calendar, a Checking X of Y calendars row appears beneath the connected account. Click it to expand a list of all your calendars with checkboxes. Check any calendar you want Cartoply to treat as busy — for example, a shared company holidays calendar or a personal appointments calendar.
Your selection saves automatically. Any time a slot is blocked on one of your checked calendars, Cartoply will not offer it to prospects.
Outlook Calendar
Outlook Calendar works the same way as Google Calendar — new bookings create calendar events and cancellations remove them.
To connect:
- Go to Integrations in the dashboard sidebar.
- In the Connected calendars section, click Connect next to Outlook Calendar.
- Sign in with your Microsoft account and grant calendar access.
- You'll be redirected back to the Integrations page with a confirmation message.
You can connect one Google and one Outlook account simultaneously — both will receive new booking events.
Stripe
Stripe is the recommended payment provider for Cartoply. It supports cards, Apple Pay, and Google Pay, and funds are deposited directly into your Stripe account.
To connect Stripe:
- Go to Integrations in the dashboard sidebar.
- In the Payments section, click Connect next to Stripe.
- You'll be taken to Stripe to create or connect an existing Stripe account.
- Complete the Stripe onboarding and you'll be redirected back to Cartoply.
Once connected, any event type with a price set will collect payment via Stripe before confirming the booking. You can view payouts and transaction history directly in your Stripe Dashboard.
To disconnect Stripe, click Disconnect in the Payments section. Paid event types will revert to free until a new payment provider is connected.
PayPal
PayPal integration uses your PayPal developer credentials to accept PayPal balance and linked card payments.
To connect PayPal:
- Log in to the PayPal Developer Dashboard.
- Create or find your app and copy the Client ID and Secret.
- In Cartoply, go to Integrations → the PayPal card in the Payments section.
- Paste your Client ID and Secret and click Save PayPal settings.
Use your PayPal sandbox credentials first to test the checkout flow before switching to live credentials.
Using Stripe and PayPal together
You can have both Stripe and PayPal connected simultaneously. When both are active, prospects see a payment page where they can choose between card payment (via Stripe) or PayPal.
Jobber
Jobber is a field service management platform. The Cartoply–Jobber integration is managed from the Integrations page in your dashboard and is visible to organization admins. Each organization you administer gets its own Jobber connection.
When connected, every booking through your org page automatically triggers a full workflow in Jobber — no manual data entry required.
What gets created in Jobber
For each confirmed org booking, Cartoply creates the following in Jobber:
- Client record — A new Jobber client is created for the prospect using their name, email address, and phone number.
- Property — If the booking form collected the prospect's address, a property is created under the client with the full address (street, city, state, zip, country).
- Request — A Jobber Request is created and linked to the client and property. The request title includes the event type name and the scheduled appointment time in your local timezone.
- Assessment — A scheduled Assessment is created on the Request, set to the exact appointment start and end time. If the prospect left a note or answered any booking questions, those appear in the Assessment's instructions field. The Assessment is automatically assigned to the Jobber team member whose email matches the rep who received the booking.
Rep assignment
Cartoply matches the assigned rep to a Jobber team member by email address. If a rep's Cartoply account email matches a user in your Jobber account, the Assessment is assigned to them automatically. If no match is found, the Assessment is created unassigned and can be assigned manually in Jobber.
To ensure automatic assignment works, make sure your reps use the same email address in both Cartoply and Jobber. If you add new Jobber team members, use Refresh users on the Jobber card so Cartoply picks them up.
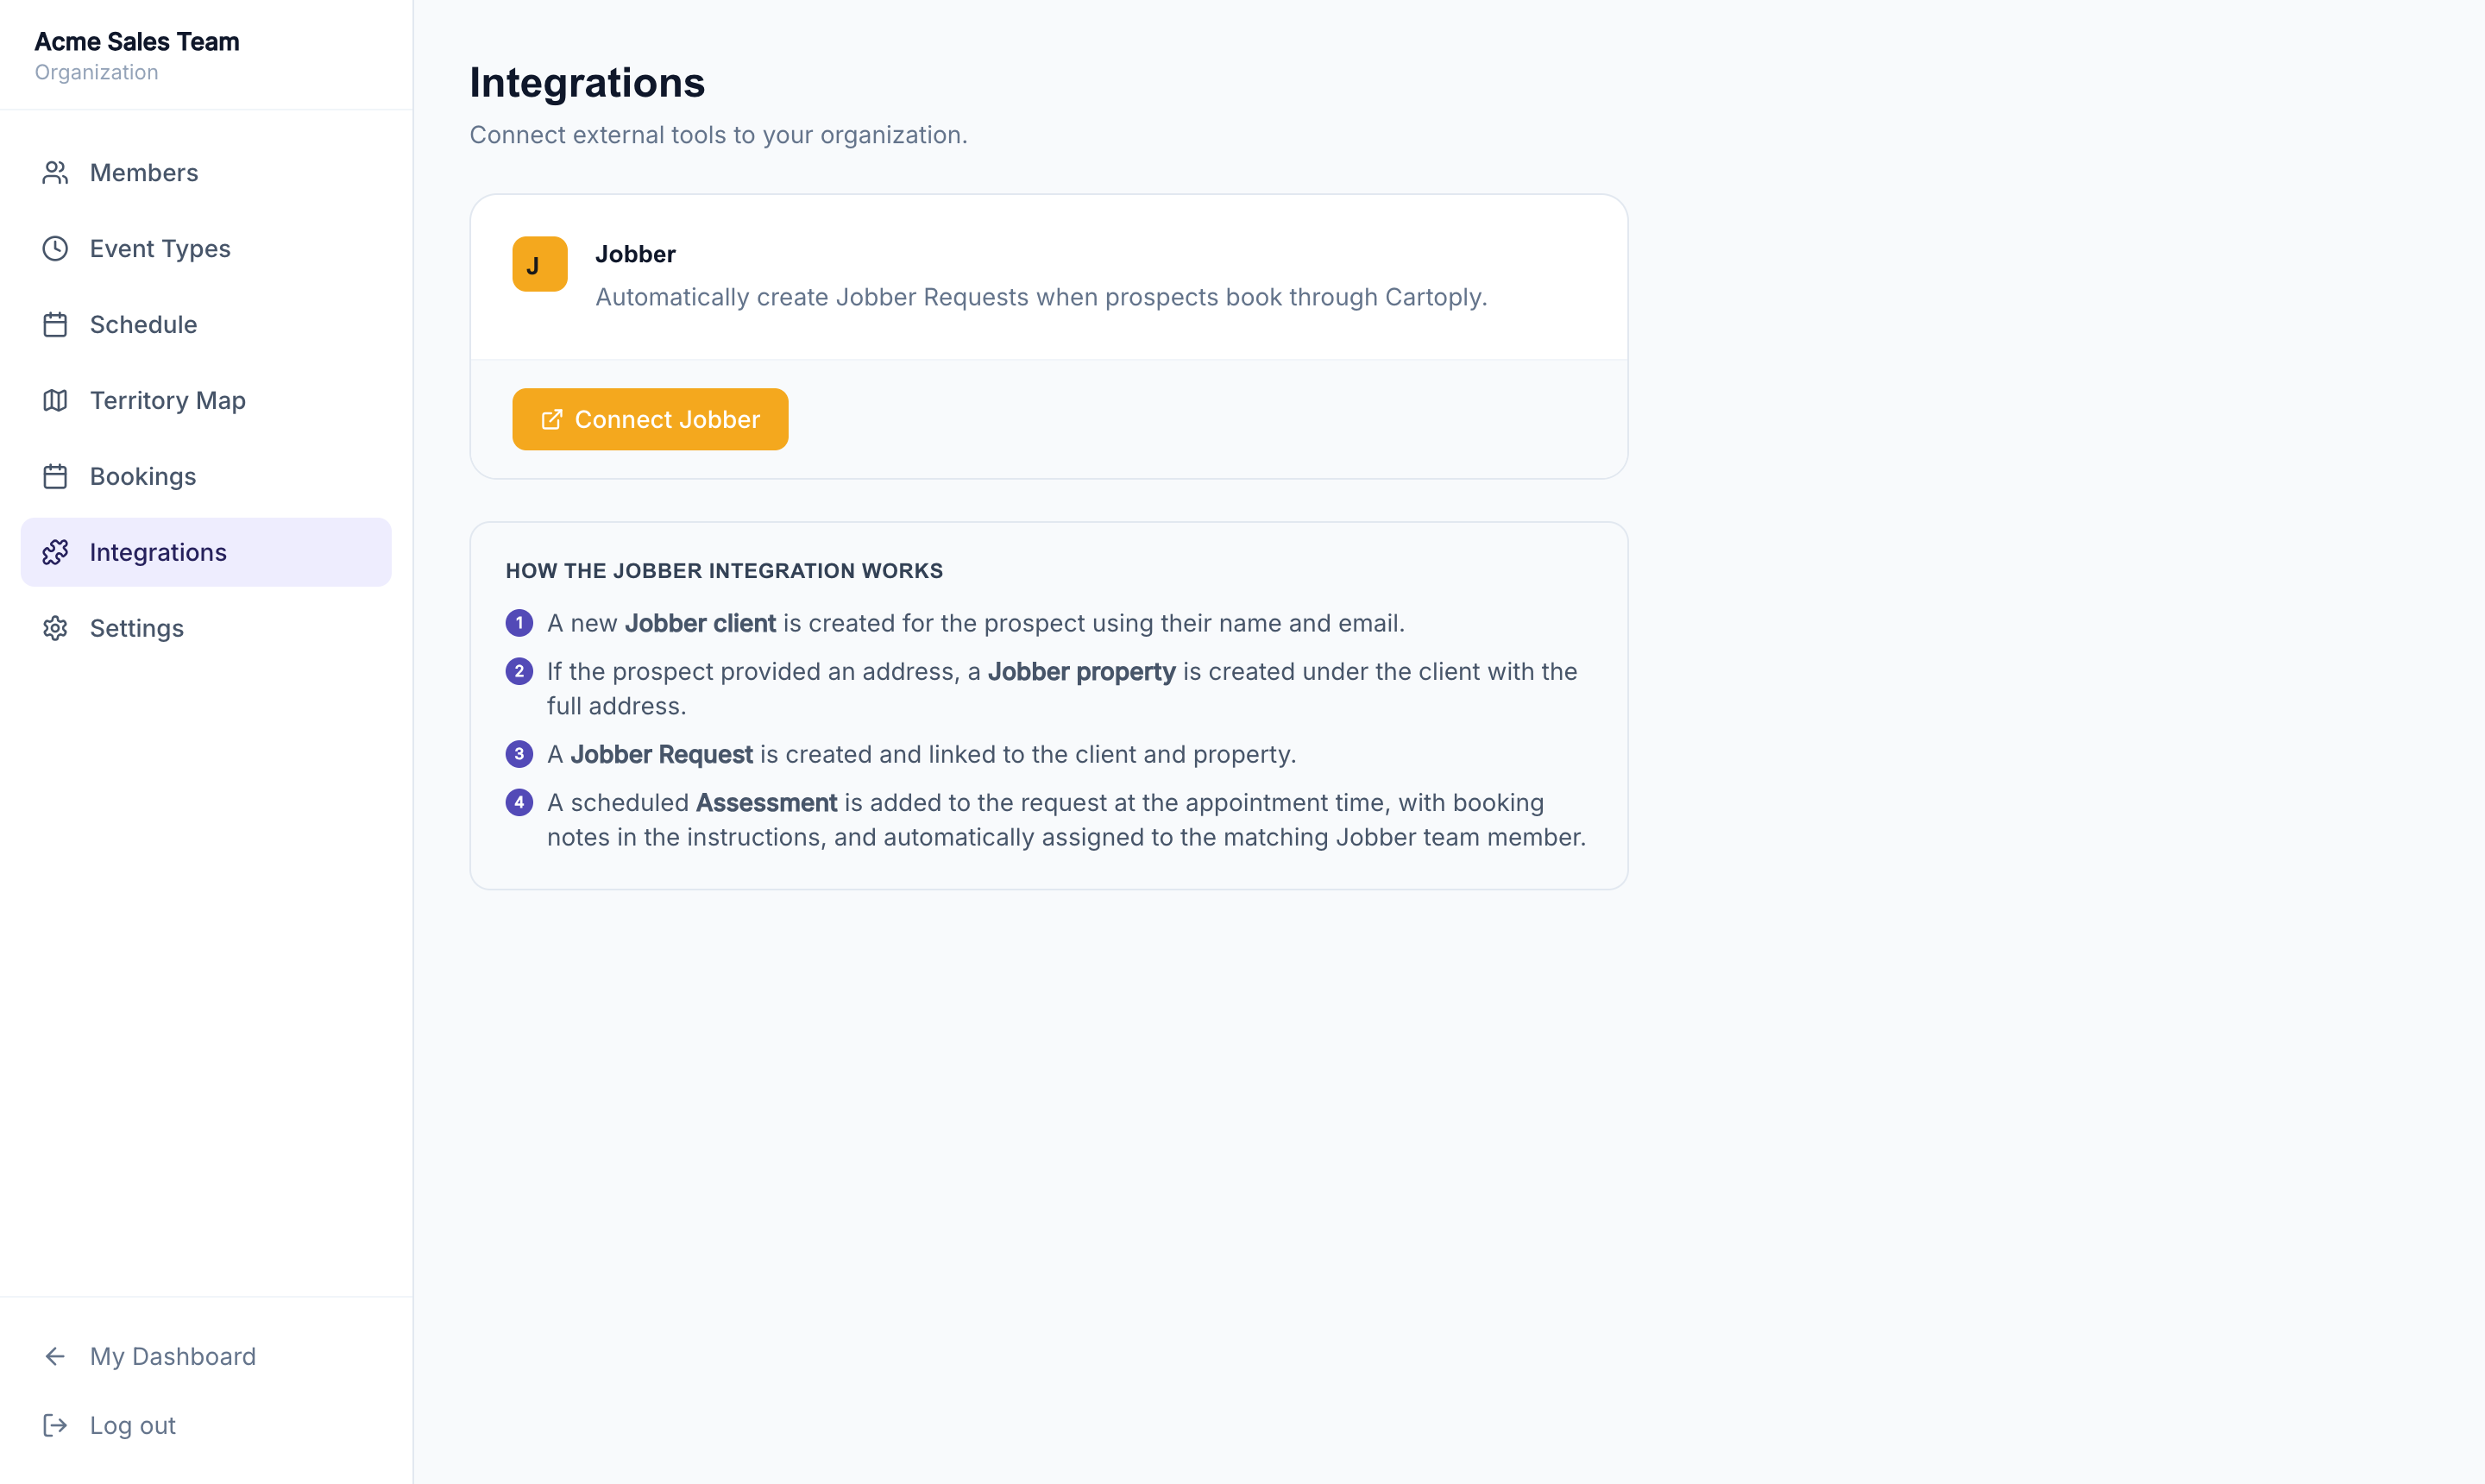
Connecting Jobber
- Open Integrations in the dashboard sidebar.
- In the Field service section, click Connect Jobber on the organization's card.
- Authorize Cartoply in the Jobber OAuth screen.
- You'll be redirected back with a confirmation. The connected Jobber account name is shown on the card.
Zapier
Zapier connects Cartoply to 8,000+ other apps — Google Sheets, Slack, your CRM, email tools, and more — without any code. Instead of a separate integration for every tool, one Zapier connection lets you automate whatever you already use.
Cartoply provides four Zapier triggers that fire the moment something happens:
- Booking Created — a new booking is scheduled (or a pending request is approved).
- Booking Requested — a booking on a review-required event type is held for your approval.
- Booking Cancelled — a booking is cancelled or a request is declined (by you or the guest).
- Booking Rescheduled — a booking is moved to a new time.
To set it up:
- Go to Integrations in the dashboard sidebar and click Connect on Zapier in the Automation section.
- In Zapier, create a Zap and choose Cartoply as the trigger app.
- Connect your Cartoply account when prompted (you'll approve access on a Cartoply consent screen).
- Pick a trigger, choose the Bookings to receive scope (see below), choose the app to send bookings to, and turn the Zap on.
Each booking event is delivered instantly to your active Zaps. Connecting through Zapier's OAuth is per-user — you approve access on your own Cartoply account.
Choosing which bookings a Zap receives
Every Cartoply trigger has a Bookings to receive dropdown with two options:
- My bookings (default) — only bookings you own or that are assigned to you as a rep.
- My whole organization — every booking across the organization(s) you administer, no matter which rep it was routed to. Use this to feed all of your team's bookings into one spreadsheet, Slack channel, or CRM.
My whole organization only delivers to organization admins. If you're not an admin and select it, the Zap won't receive anything — switch it back to My bookings. If you're an admin and you're also the rep on a booking, you won't get duplicates.
Troubleshooting
- Calendar not syncing — disconnect and reconnect your calendar from the Integrations page. OAuth tokens can expire, especially if you recently changed your Google or Microsoft password.
- Stripe setup link expired — if you see a "setup link expired" message, click Connect next to Stripe again to get a fresh link.
- PayPal 401 errors — double-check that you're using the correct environment (sandbox vs. live) credentials and that the app is active in the PayPal Developer Dashboard.
- Jobber Requests not appearing — confirm the Jobber integration is still connected (status shows "Connected") and that the booking went through your org page, not a personal booking link. Only org bookings are pushed to Jobber.
- Assessment unassigned in Jobber — Cartoply matches reps by email. Make sure the rep's email in Cartoply exactly matches their email in Jobber, then click Refresh users. If the emails differ, assign the Assessment manually in Jobber.
- Zap not firing — make sure the Zap is turned on (turning it on is what subscribes it to your bookings) and that you connected the correct Cartoply account. If the trigger is set to My whole organization but you receive nothing, confirm you're an organization admin — that scope only delivers to admins.
Need help?
Email us at hello@cartoply.com and we'll get you sorted.